If you want to find out more about
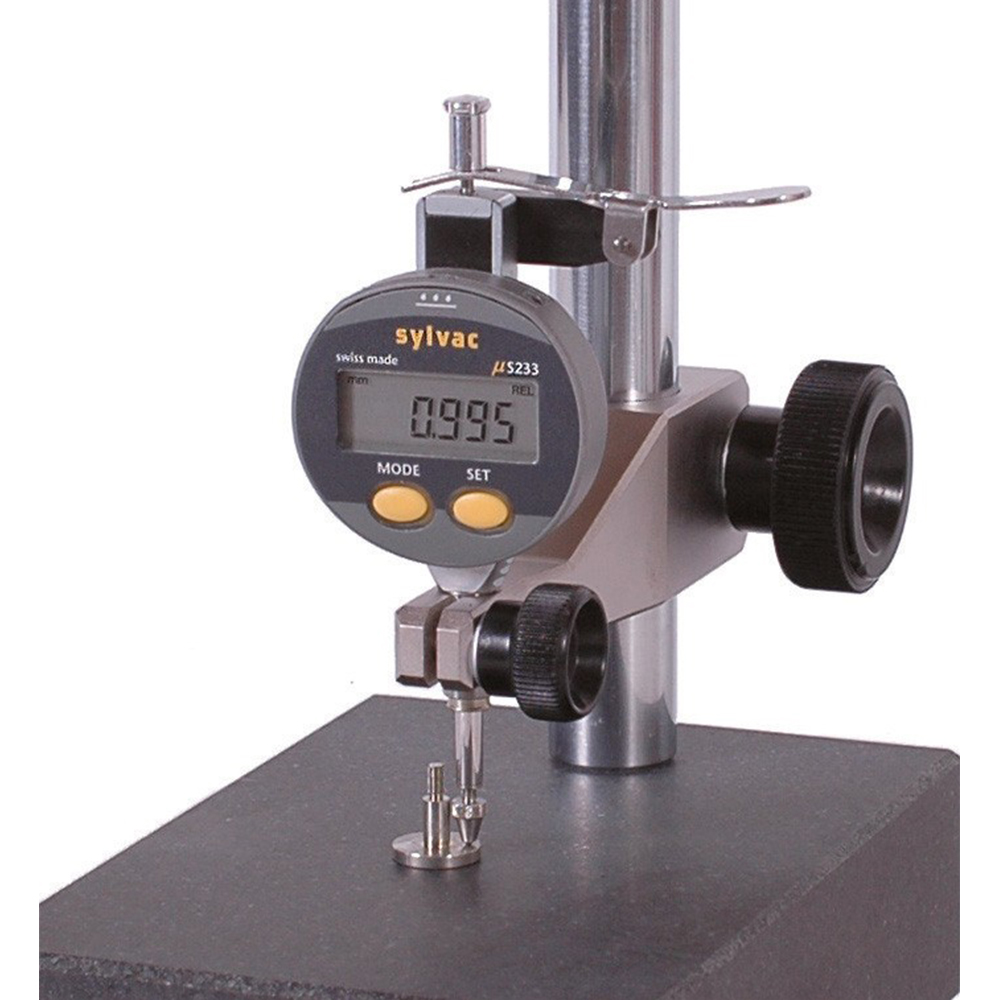
Sylvac Digital Indicator S_Dial Work PLC
Talk to us at :
(65) 6749 9697

sales@lfc.com.sg
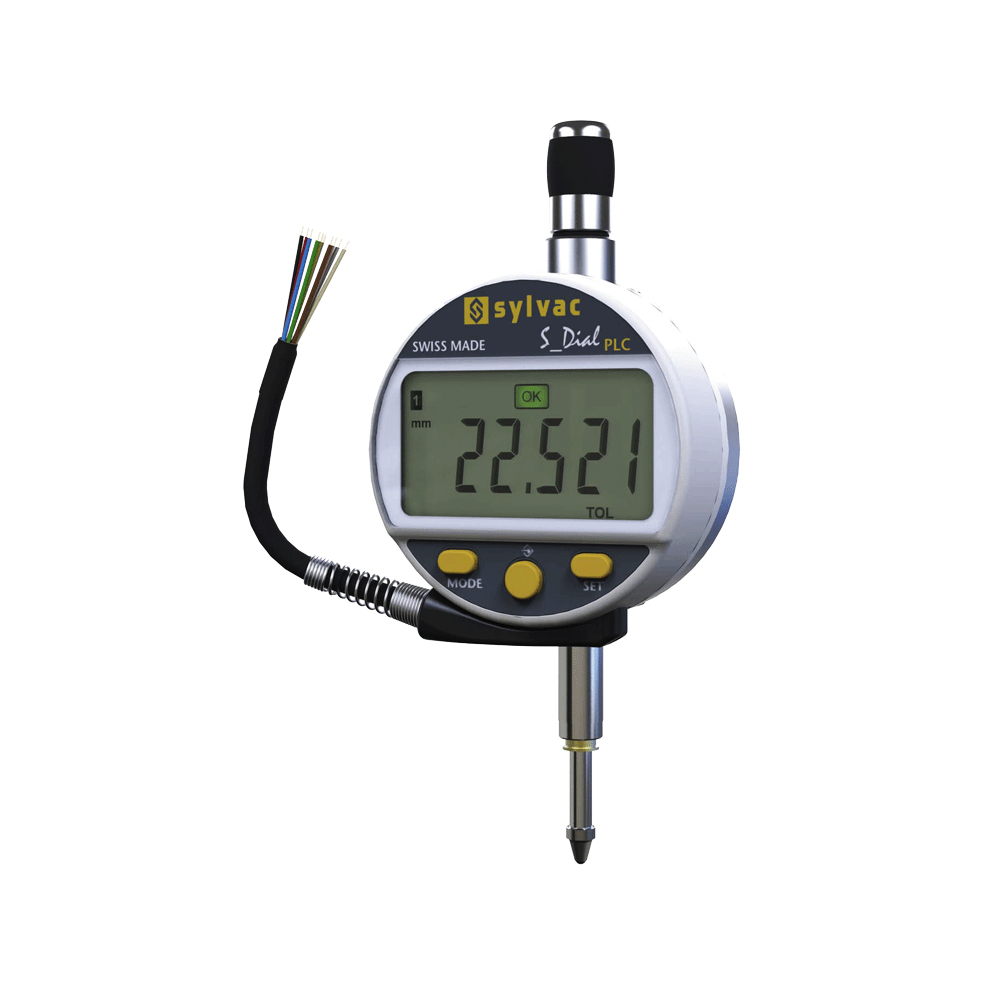
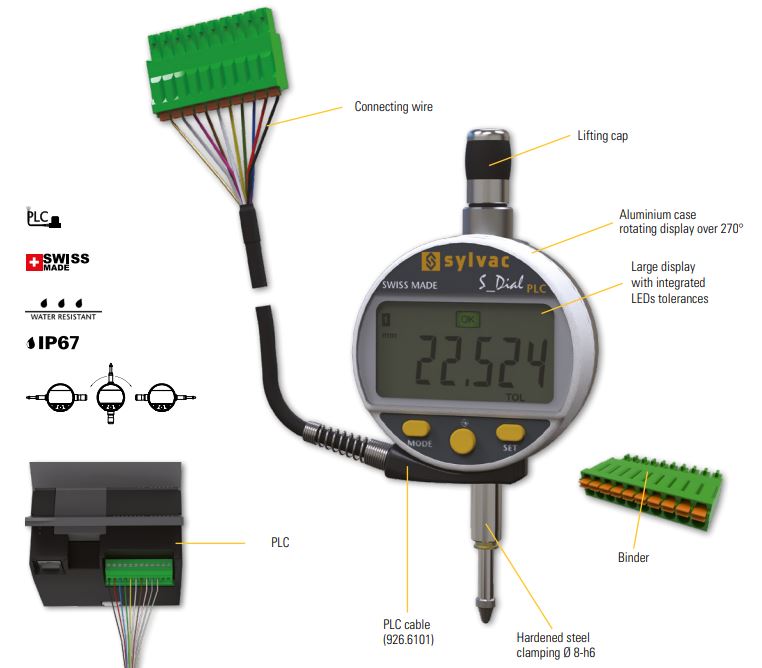
Sylvac Digital Indicator S_Dial Work PLC is engineered with a digital display and repeatabilty up to 2µm so that the presence, or exact quantity, of some small distance can be conveniently realized (for example, a small height difference between two flat surfaces, a slight lack of concentricity between two cylinders, or other small physical deviations). Sylvac Digital Indicator S_Dial Work PLC has many advantages over their analog predecessors. Sylvac Digital Indicator S_Dial Work PLC can record and transmit the data to any device through its Power-line communication cable socket. This feature facilitates statistical process control (SPC), which allows both programmable measurement data and fabrication inspection to be properly recorded in a tabular dataset (such as a database table or spreadsheet) and for statistical analysis on them. Another function of the Sylvac Digital Indicator S_Dial Work PLC is a built in converter to switch unit measurement between metric and inch with the press of a button, thus obviating a separate unit conversion step of using a calculator. This obviates manual recording of long columns of numbers, which not only reduces the risk of the operator's errors (such as digit transpositions) but also improves the productivity of the process by reducing the human resources needed for time-consuming data recording, calculating and copying tasks. Features : Indicator with PLC connector Resolution up to 0.001mm Robust construction Water and coolant resistant New technology with configurable menus Broad choice of functions (MIN/MAX/DELTA, TOL, Factor, PRESET, AUTO OFF, etc.) Maximum error up to 4 μm Benefits : Accurately measure small distances and angles, and amplify them to make the reading more obvious and have direct control and power over PLC. Versatility and precision in checking the variation in tolerance during the inspection process of a machined part Measure the deflection of a beam or ring under laboratory conditions.
Sylvac Digital Indicator S_Dial Work PLC is engineered with a digital display and repeatabilty up to 2µm so that the presence, or exact quantity, of some small distance can be conveniently realized (for example, a small height difference between two flat surfaces, a slight lack of concentricity between two cylinders, or other small physical deviations).
Sylvac Digital Indicator S_Dial Work PLC has many advantages over their analog predecessors. Sylvac Digital Indicator S_Dial Work PLC can record and transmit the data to any device through its Power-line communication cable socket. This feature facilitates statistical process control (SPC), which allows both programmable measurement data and fabrication inspection to be properly recorded in a tabular dataset (such as a database table or spreadsheet) and for statistical analysis on them. Another function of the Sylvac Digital Indicator S_Dial Work PLC is a built in converter to switch unit measurement between metric and inch with the press of a button, thus obviating a separate unit conversion step of using a calculator. This obviates manual recording of long columns of numbers, which not only reduces the risk of the operator's errors (such as digit transpositions) but also improves the productivity of the process by reducing the human resources needed for time-consuming data recording, calculating and copying tasks.
Features :
- Indicator with PLC connector
- Resolution up to 0.001mm
- Robust construction
- Water and coolant resistant
- New technology with configurable menus
- Broad choice of functions (MIN/MAX/DELTA, TOL, Factor, PRESET, AUTO OFF, etc.)
- Maximum error up to 4 μm
Benefits :
- Accurately measure small distances and angles, and amplify them to make the reading more obvious and have direct control and power over PLC.
- Versatility and precision in checking the variation in tolerance during the inspection process of a machined part
- Measure the deflection of a beam or ring under laboratory conditions.
TECHNICAL SPECIFICATION
Sylvac Digital Indicator S_Dial Work PLC Dimensions:

Sylvac Digital Indicator S_Dial Work PLC Ordering Guide:
| 805.7301 | 805.7201 | 805.7501 | 805.7401 | ||
| Measuring range | mm | 12.5 | 12.5 | 25 | 25 |
| A | mm | 56.7 | 69.4 | ||
| B | mm | 66.1 | 78.5 | ||
| C | mm | 50.5 | 50.5 | ||
| D | mm | 36.6 | 49.4 | ||
| Resolution | mm | 0.001 | 0.01 | 0.001 | 0.01 |
| Max. Error fe | µm | 4 | 10 | 5 | 10 |
| Repeatability | mm | 2 | |||
| Output data | PLC cable / RS232 (Prosimity) abd RS485 (cable) compatible | ||||
| Data bus | RS485 compatible / Charge 1/256 (Protocole MODBUS, ASCII or ORBIT) | ||||
| Measuring force | N | 0.65-0.9 | 0.65-1.15 | ||
| IP rating | IP67 | IP54 | IP67 | IP54 | |
| Clamping | ∅8h6, interchangeable anvil probe M2.5 | ||||
| Standard functions (customisable by PC) |
mm/inch, ref I/II, preset (max 999.999) min/max/delta, tolerances, resolution, measuring direction, multiplier, keylock |
||||
Request a Quote
Request A Quote
Please complete the below form to receive further information.

