If you want to find out more about
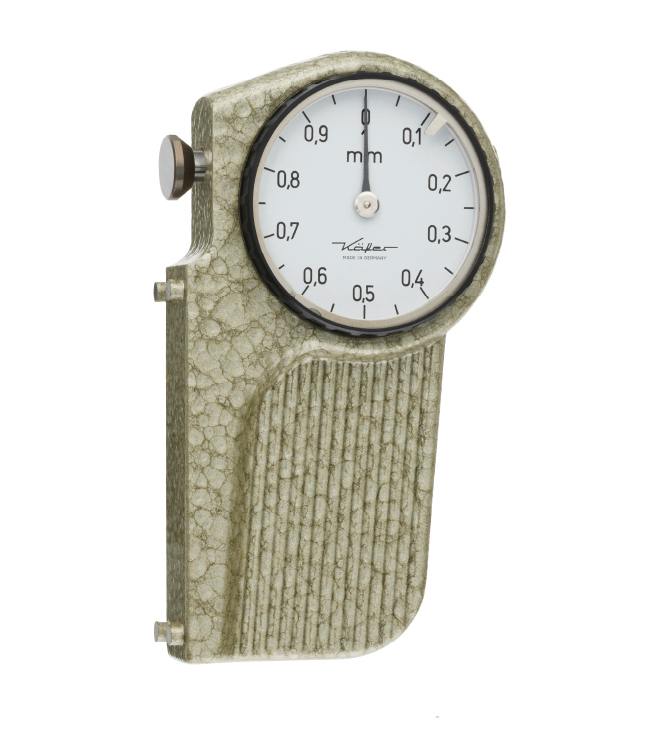
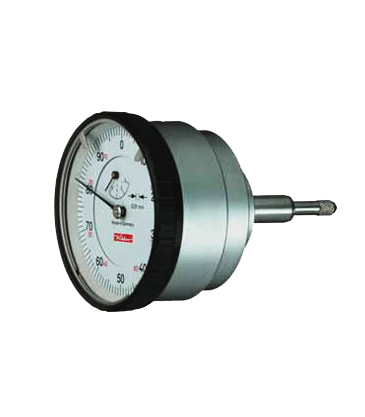
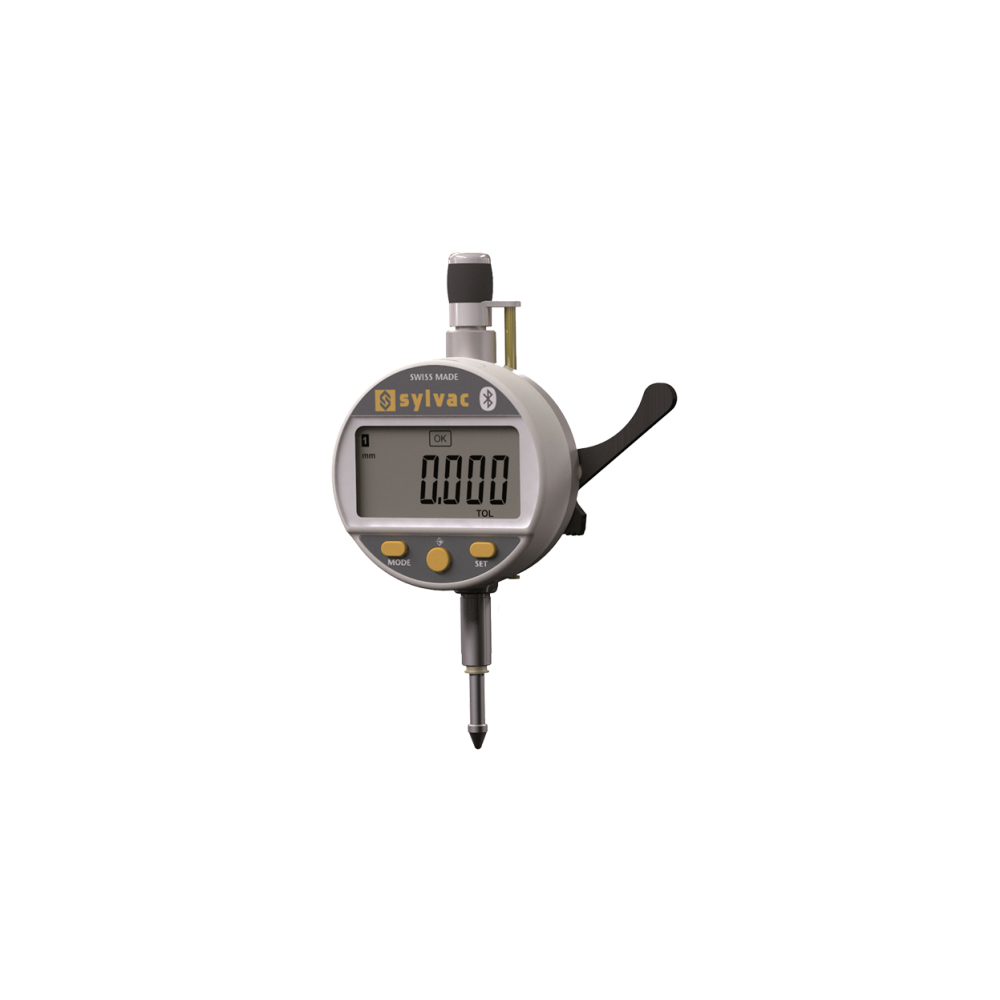
Kafer Dial Test Indicators K Series
Talk to us at :
(65) 6749 9697

sales@lfc.com.sg
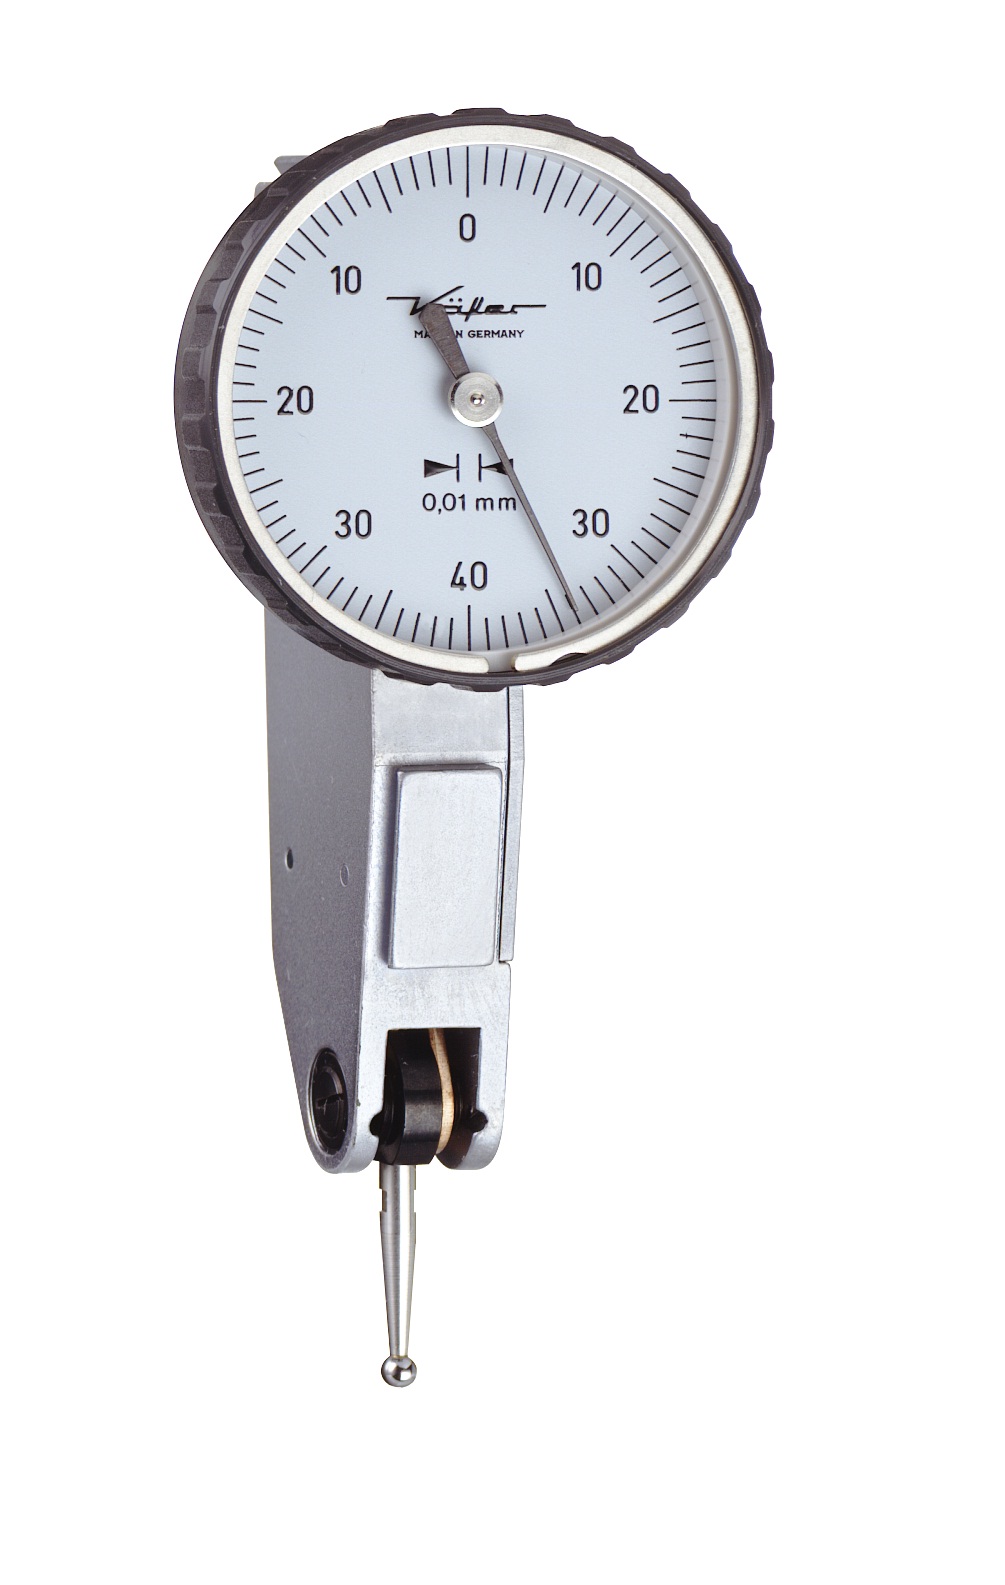
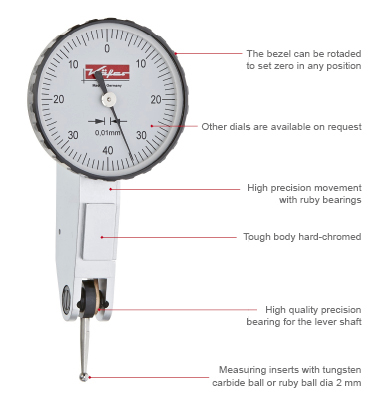
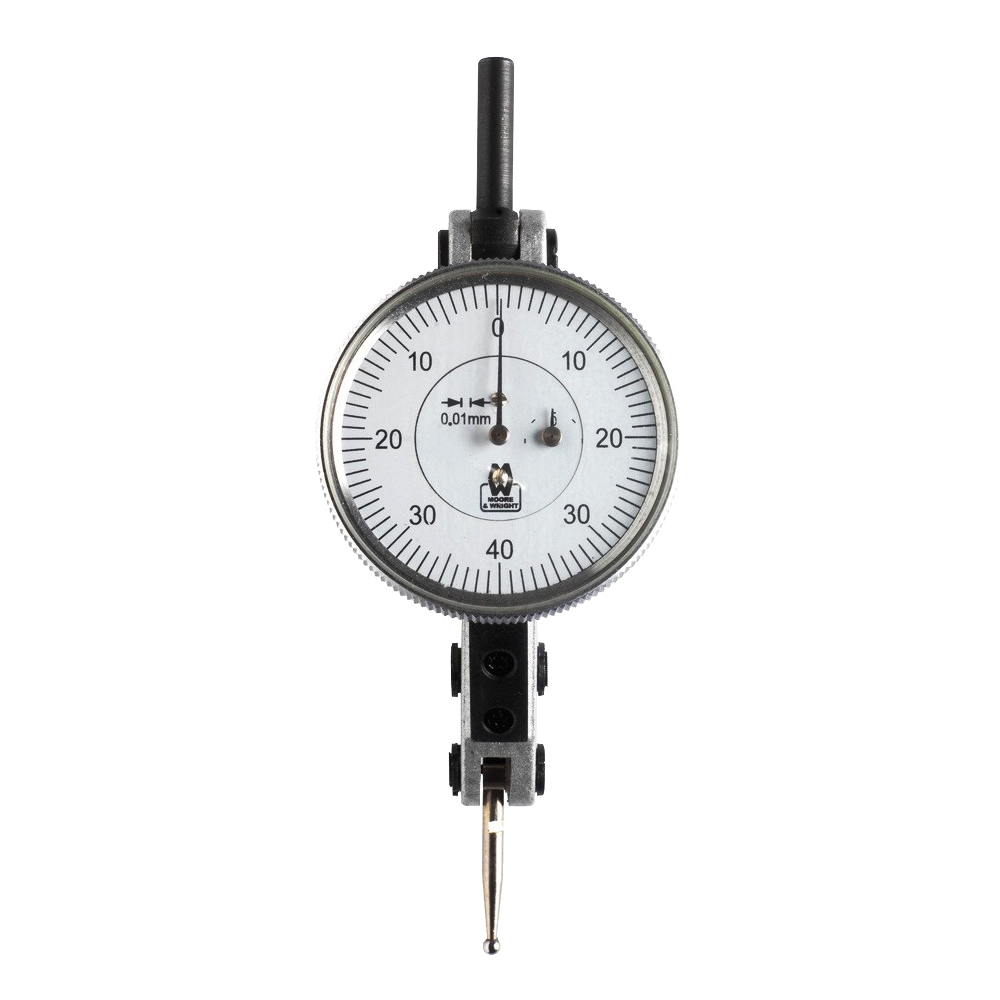
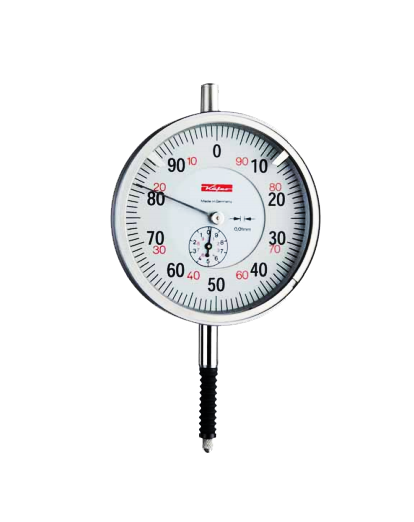
Kafer Dial Test Indicators are both sensitive and shock-resistant. All KAFER Dial Test Indicator's bodies are engineered with hard-chrome to be as sturdy as possible on any production floor. Precise gauging on moving parts always is only ensured (especially for a long distance) if resistant contact points are used. The small ball on the contact points is made of carbide for improved wear and tear. Kafer's value range of quality product surely improve your productivity on a new level. Kafer Dial Test Indicators K Series Feature: All features of the models reading up to 1 mm measuring range conform to DIN 2270. This applies to all deviation spans, the measuring force and the hysteresis error of the measuring force Automatic change of the direction of measurement Indication clockwise in all types Precise components, running in ruby bearings, warrant highest precision throughout Precision bearing for the lever shaft Body with 3 dovetail slides for clamping the stem and other equipment Body hard-chromed in order to protect the dovetail slides against damage Tungsten carbide ball 2 mm Ø in measuring inserts Dial adjustable by knurled bezel Supplied in a convenient box with transparent lid with 1 stem Ø 8 mm h 6 and 1 spanner for changing the contact points
Kafer Dial Test Indicators are both sensitive and shock-resistant. All KAFER Dial Test Indicator's bodies are engineered with hard-chrome to be as sturdy as possible on any production floor. Precise gauging on moving parts always is only ensured (especially for a long distance) if resistant contact points are used. The small ball on the contact points is made of carbide for improved wear and tear. Kafer's value range of quality product surely improve your productivity on a new level.
Kafer Dial Test Indicators K Series Feature:
- All features of the models reading up to 1 mm measuring range conform to DIN 2270. This applies to all deviation spans, the measuring force and the hysteresis error of the measuring force
- Automatic change of the direction of measurement
- Indication clockwise in all types
- Precise components, running in ruby bearings, warrant highest precision throughout
- Precision bearing for the lever shaft
- Body with 3 dovetail slides for clamping the stem and other equipment
- Body hard-chromed in order to protect the dovetail slides against damage
- Tungsten carbide ball 2 mm Ø in measuring inserts
- Dial adjustable by knurled bezel
- Supplied in a convenient box with transparent lid with 1 stem Ø 8 mm h 6 and 1 spanner for changing the contact points
TECHNICAL SPECIFICATION
KAFER Dial Test Indicators K Series Ordering Guide:
| Type | Reading | Range | Bezel-Ø | Dial Reading | Form to DIN 2270 | Length of contact pointer |
| K 30 | 0,01 mm | 0,8 mm | 32 mm | 0-40-0 | A | 12 mm |
| K 30/1 | 0,01 mm | 1 mm | 32 mm | 0-50-0 | A | 15,9 mm |
| K 31 | 0,01 mm | 0,8 mm | 32 mm | 0-40-0 | B | 12 mm |
| K 32 | 0,01 mm | 0,8 mm | 32 mm | 0-40-0 | C | 12 mm |
| K 33 | 0,01 mm | 0,5 mm | 32 mm | 0-25-0 | A | 35 mm |
| K 34 | 0,01 mm | 0,5 mm | 32 mm | 0-25-0 | B | 35 mm |
| K 35 | 0,01 mm | 0,5 mm | 32 mm | 0-25-0 | C | 35 mm |
| K 36 | 0,002 mm | 0,2 mm | 32 mm | 0-100-0 | A | 12 mm |
| K 37 | 0,002 mm | 0,2 mm | 32 mm | 0-100-0 | B | 12 mm |
| K 38 | 0,002 mm | 0,2 mm | 32 mm | 0-100-0 | C | 12 mm |
| K 40 | 0,01 mm | 0,8 mm | 40 mm | 0-40-0 | A | 12 mm |
| K 40/1 | 0,01 mm | 1 mm | 40 mm | 0-50-0 | A | 15,9 mm |
| K 41 | 0,01 mm | 0,8 mm | 40 mm | 0-40-0 | B | 12 mm |
| K 42 | 0,01 mm | 0,8 mm | 40 mm | 0-40-0 | C | 12 mm |
| K 43 | 0,01 mm | 0,5 mm | 40 mm | 0–25-0 | A | 35 mm |
| K 44 | 0,01 mm | 0,5 mm | 40 mm | 0-25-0 | B | 35 mm |
| K 45 | 0,01 mm | 0,5 mm | 40 mm | 0-25-0 | C | 35 mm |
| K 46 | 0,002 mm | 0,2 mm | 40 mm | 0-100-0 | A | 12 mm |
| K 47 | 0,002 mm | 0,2 mm | 40 mm | 0-100-0 | B | 12 mm |
| K 48 | 0,002 mm | 0,2 mm | 40 mm | 0-100-0 | C | 12 mm |
| Type | Reading inch |
Range inch |
Bezel-Ø inch |
Dial reading | Form to DIN 2270 |
Length of contact pointer inch |
| K 3O Z | .0005" | .030" | 1 ¼" | 0-15-0 | A | .450" |
| K 30/1 Z | .0005" | .040" | 1 ¼" | 0-20-0 | A | .638" |
| K 31 Z | .0005" | .030" | 1 ¼" | 0-15-0 | B | .450" |
| K 32 Z | .0005" | .030" | 1 ¼" | 0-15-0 | C | .450" |
| K 33 Z | .0005" | .020" | 1 ¼" | 0-10-0 | A | 1.400" |
| K 34 Z | .0005" | .020" | 1 ¼" | 0-10-0 | B | 1.400" |
| K 35 Z | .0005" | .020" | 1 ¼" | 0-10-0 | C | 1.400" |
| K 36 Z | .0001" | .008" | 1 ¼" | 0-4-0 | A | .490" |
| K 37 Z | .0001" | .008" | 1 ¼" | 0-4-0 | B | .490" |
| K 38 Z | .0001" | .008" | 1 ¼" | 0-4-0 | C | .490" |
| K 4O Z | .0005" | .030" | 1 9/16" | 0-15-0 | A | .450" |
| K 4O/1 Z | .0005" | .040" | 1 9/16" | 0-20-0 | A | .638" |
| K 41 Z | .0005" | .030" | 1 9/16" | 0-15-0 | B | .450" |
| K 42 Z | .0005" | .030" | 1 9/16" | 0-15-0 | C | .450" |
| K 43 Z | .0005" | .020" | 1 9/16" | 0-10-0 | A | 1.400" |
| K 44 Z | .0005" | .020" | 1 9/16" | 0-10-0 | B | 1.400" |
| K 45 Z | .0005" | .020" | 1 9/16" | 0-10-0 | C | 1.400" |
| K 46 Z | .0001" | .008" | 1 9/16" | 0-4-0 | A | .490" |
| K 47 Z | .0001" | .008" | 1 9/16" | 0-4-0 | B | .490" |
| K 48 Z | .0001" | .008" | 1 9/16" | 0-4-0 | C | .490" |
Request a Quote
Request A Quote
Please complete the below form to receive further information.

